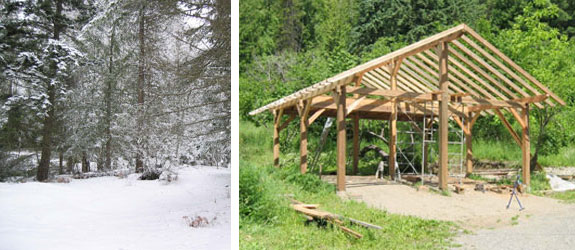
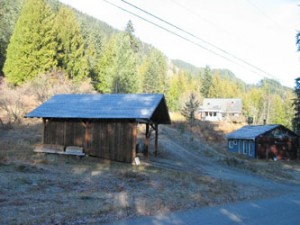
How do we get from this…to this?
Learn how selective logging can reduce the risk of wildfire around your home, earn income from the logs, and supply the materials to construct a carport, woodshed or other buildings.
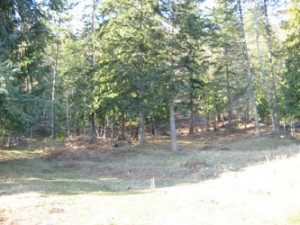
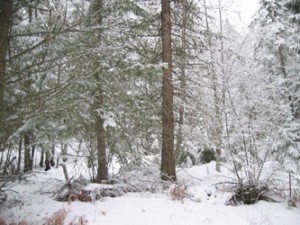 This forest, just upslope from our house in Kaslo, BC, poses a high risk from the point of view of interface fire: The crown cover is continuous, there are lots of ladder fuels, dry flammable debris covers the ground.
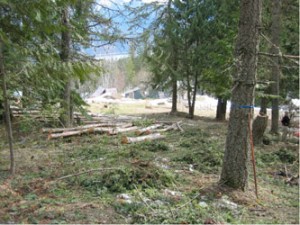 While many of the most important things we can do to FireSmart are within a 30 meter radius our homes, it makes a lot of sense to reduce the risk of fire in the forests surrounding our residences.
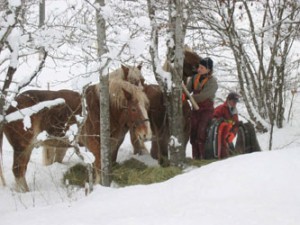 We hired local horse logger, Pat McCrory of Select Falling to do the falling and skidding. Rates are usually negotiable depending on how far the skids are and how much slash is cleaned up afterwards. We paid $35.00 per cubic meter, and this included falling, bucking to length and stacking the logs where a truck can pick them up to take them to a local mill.
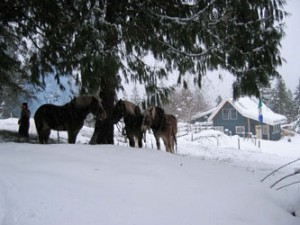 There is something timeless about horse logging.
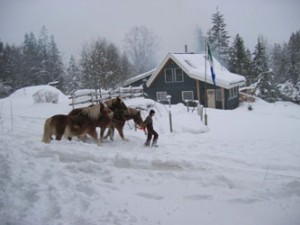 Especially with big beautiful animals like these.
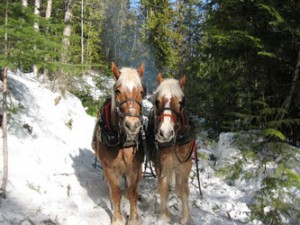 Logging in the winter on snow reduces the soil disturbance from logs being dragged along the ground.
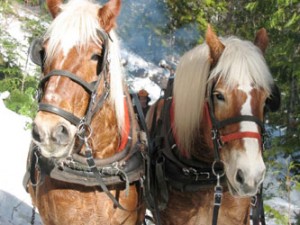 This is Flash and Flicker.
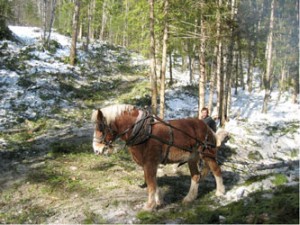 For the 1 ha we logged, the falling took about a day and half and the skidding took about three days.
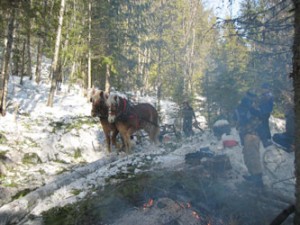 Some of the branches and tops were burned to keep us all warm while the logs were skidded out.
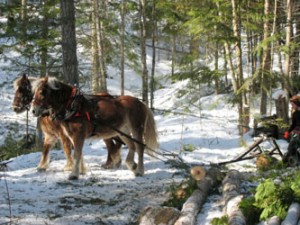 The metal contraption behind the horses is used to keep the leading edge of the logs off the ground – this reduces drag and soil disturbance.
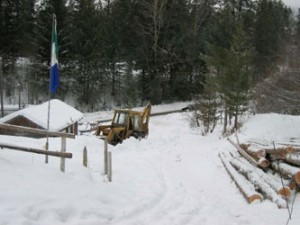 We hired a machine to open up our driveway to make room for the logging truck. In 1 ha of logging we sold 2 small loads of Douglas fir (1 full load = 35 m3) and a very small load of cedar poles (12 poles in total). Prices vary, but at the time we received about $100 per m3 for the Douglas for and $150 per m3 for the cedar poles.
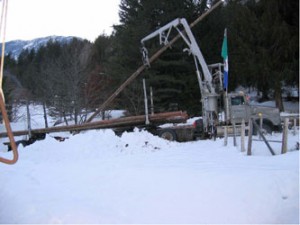 Hauling was included in the price for the cedar poles – in other words the folks who bought the poles bought them ‘on the landing’. Hauling cost about $6.00 / m3 for the Douglas fir to load them and take them up the lake to Meadow Creek sawmill. So, each load was about $250.00
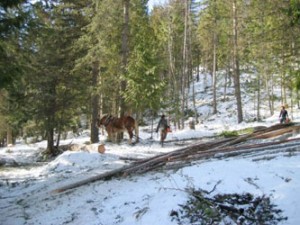 All of the logs we did not sell we either kept to mill up for the carport or else bucked up for firewood.
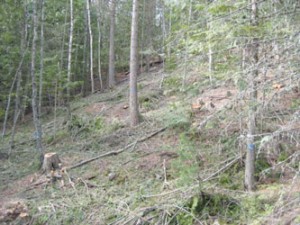 The logging prescription is based on restoration forestry – leaving the biggest healthiest fire resistant species (here that means Douglas fir and Western larch) as well as all of the healthy deciduous (birch and maple).
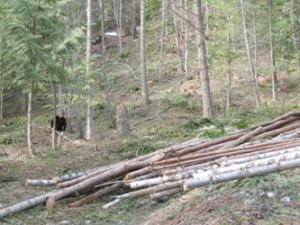 For 1 ha of logging we spent about 20 days cleaning up the slash – piling and burning the branches and tops and bucking and stacking the firewood. In addition to the wood we milled for the carport we cut about 5 cords of firewood – mainly birch, fir and hemlock. You can also see that we pruned the trees left behind as high as could be reached with the chain saw. This reduces ladder fuels as well as improves wood quality in the long term.
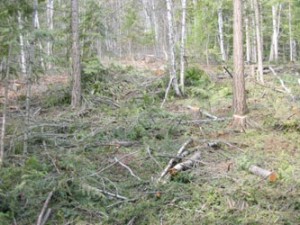 Other options for slash disposal include chipping or simply making ‘critter piles’ – hiding places and habitat for small rodents. From the perspective of reducing the risk of fire, we chose to burn the piles. We let the piles sit for a year to dry out and then burned them the following winter.
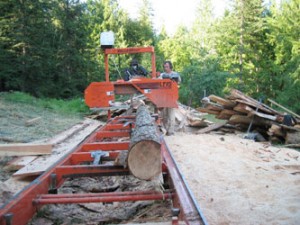 To mill the wood for the carport we brought in a Woodmizer sawmill. This one is operated by Pat, the same guy who did the horse logging. The pile of slab behind him we bucked up for firewood – we were still burning it several years later.
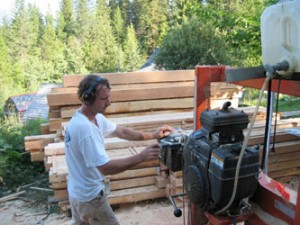 We had plans (link to blueprints) drawn up by a local timber frame architect. These included a cut list that showed the exact number and dimensions of each timber. The stack behind Pat is stickered to air dry. We left it to dry for most of the summer.
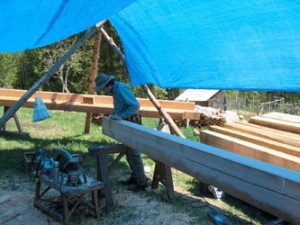 We hired a local timber framer to help lay out the timbers. Chris Petersen (250-366-4226) from up the lake in Argenta laid out all of the timbers in a couple of days, and then rented me the tools and showed me how to use them.
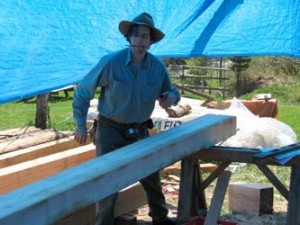 As a first time timber framer, I am very glad that Chris was able to help me out. Doing the lay out – drawing the joints and notches on the timbers made the rest of the job quite simple.
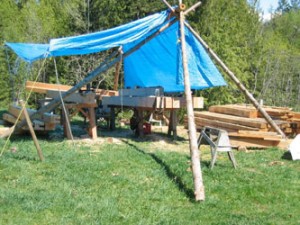 It took about 10 full days of work to notch the timbers. The hardest part was figuring out how to move the heavy timbers around.
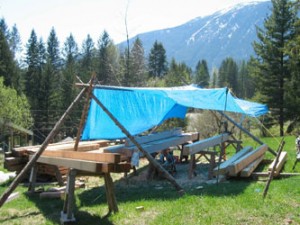 The tarp gave us some shade – fairly basic, but effective.
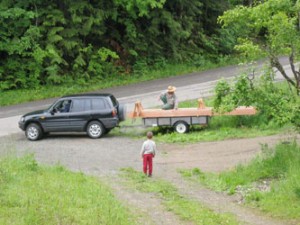 Each piece was moved by hand down to the site – we just loaded them on our utility trailer.
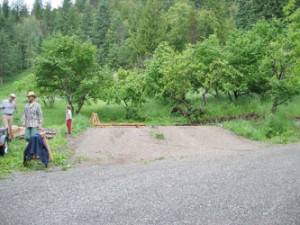 I had already laid out the site and poured 9 concrete pillars for the posts to rest on.
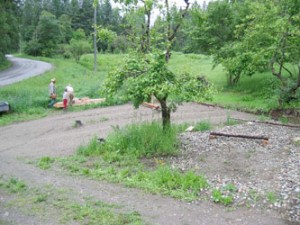 The concrete pillars were 10 inch diameter supported on 24 inch square footings buried 24 inches below grade.
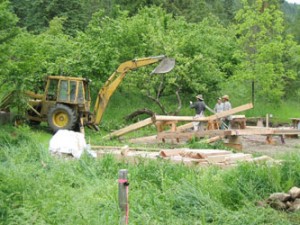 We hired a local machine to help erect the timber frame. Each section or ‘bent’ is assembled on the ground and then lifted into place.
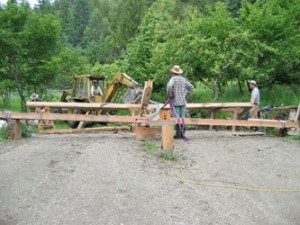 Chris Petersen came to help out along with my brother-in-law Andy.
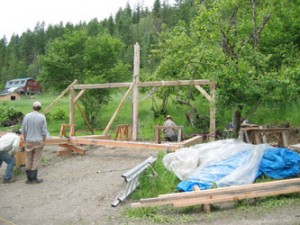 Each bent is braced in place while the others are put up.
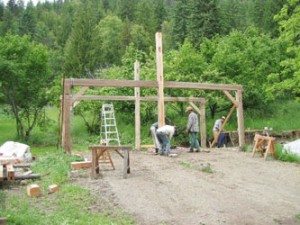 It all goes up pretty fast – having sledge hammers on hand also helps to finesse the big timbers.
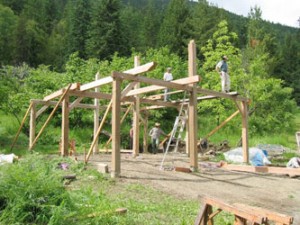 By lunch we had all three bents on and were moving into place the beams. Once the beams were lifted into place, the machine could go home.
 Timber framing is for cool people – Andy’s son Wynn.
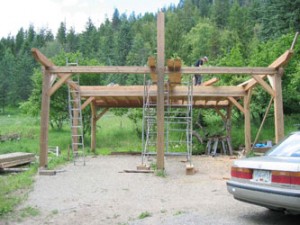 I decided to build a storage loft in the back half of the building. This was helpful when the roof was being built.
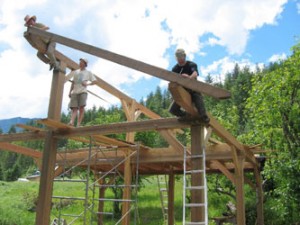 Our friend Mike Proctor came to help with roof – starting with the rafters.
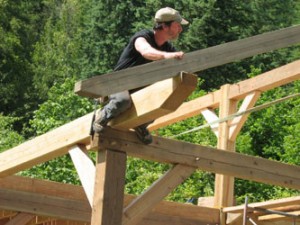 All of the rafters were cut along with the rest of the frame. They just needed to be put in place and spiked.
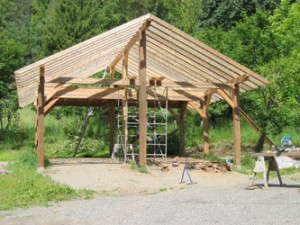 It took two days for three of us to put the rafters on. The drawings for this timber frame carport were done by local designer Mike Pearson (250 353 8955) who really knows his stuff.
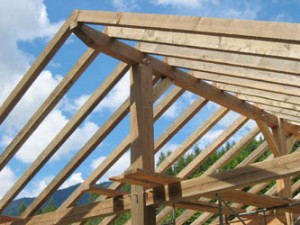 You can see the oak pegs holding the timbers together. The only nails in the frame of this building were the 6 inch spikes used to secure the rafters in place.
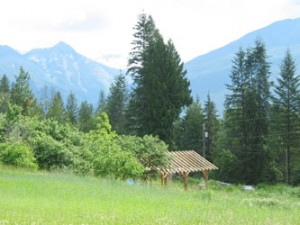 This is taken from my neighbours yard with the Purcell Mountains in the background.
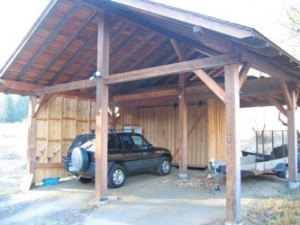 Once finished a storage shed in the back half of the building. The asphalt roofing took about 3 full days to complete. I also put walls on half the building to keep out the snow.
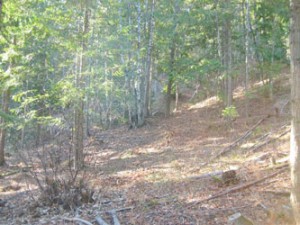 As for the forest, I think it looks great. There is more light getting to the forest floor, so the shrub layer is starting to come in.
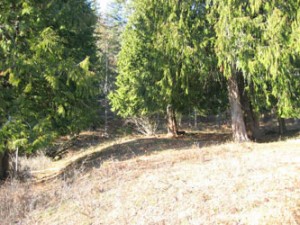 What I like – apart from the reduced risk of fire – is that we can see deep into the forest. Before we did this all we saw was green wall where the forest started.
 As for total costs: Here is a rough breakdown:
| Logging: | $4,500.00 |
| Milling: | $1,700.00 |
| Hauling: | $480.00 |
| Timber Framing: | $900.00 |
| Materials: | $1,200.00 |
| Total: | $7,180.00 |
We did all of the piling and burning, most of the timber frame cutting and almost all of the actual building, so that really kept the costs down.
 As for revenues: Here is a rough breakdown:
| Fir logs: | $4,000.00 | (40 m3 @ $100/m3 |
| Cedar: | $1,500.00 | (100 m3 @ $150 / m3 |
| Total: | $5,500.00 |
Which means that we paid less than $2,000 for the building, plus all of the time we put in ourselves (which was great fun!!) In addition, we got 6 or 7 cords of firewood (including the slab we bucked up), we now have a forest that we can walk in and enjoy, and we have greatly reduced the risk of wildfire by removing dead and dying tress, eliminating the ladder fuels, opening the crown (to reduce the risk of crown fires spreading) and pruning the trees we left behind.